
Mid Taper Fade for Straight Hair: Side Part vs Slicked Back
On this page
- Mid taper for straight hair: side parts and swept-back finishes
- Why a Taper Works with Straight Hair
- Option 1: Mid Taper with a Side Part
- Option 2: Mid Taper with a Slicked-Back Top
- Option 3: Mid Taper with a Textured Fringe
- Best Top Styles for a Mid Taper on Straight Hair
- Mid Taper vs Mid Fade on Straight Hair
- Which Clipper Numbers Are Used?
- What to Ask Your Barber
- Common Straight-Hair Problems
- Product Choice by Finish
- When Is It Time for a Trim?
- Styling Reference
A mid taper fade for straight hair is a clean way to sharpen the perimeter while keeping enough side length for classic top styles. Straight hair makes transitions easy to see, which is useful when the blend is good and unforgiving when it is not. The most important decision is usually not the guard number—it is how you want the top to sit.
Mid taper for straight hair: side parts and swept-back finishes
Compare top direction, retained side weight and the localized temple and nape blends. Each is a separate fictional reference. Select an image to enlarge it.
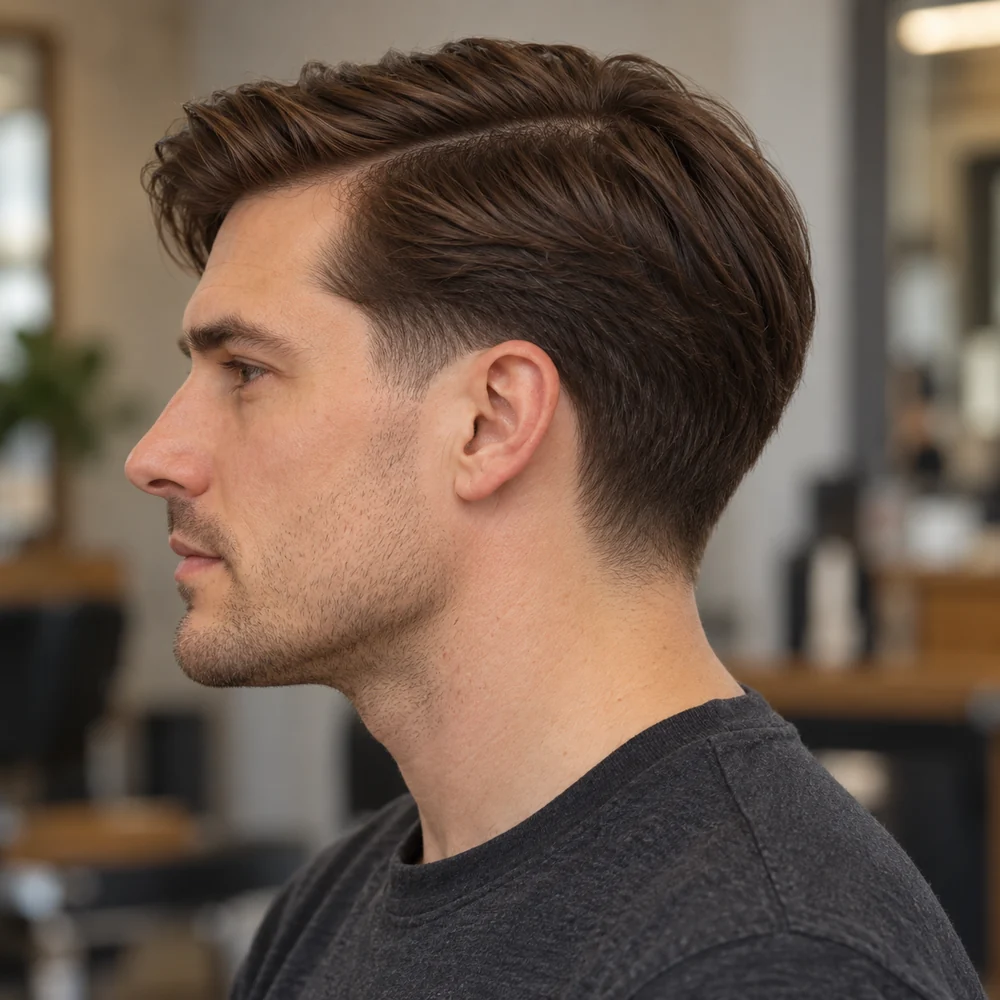
A clear natural part sets the top’s direction while the side weight remains connected behind the ear.
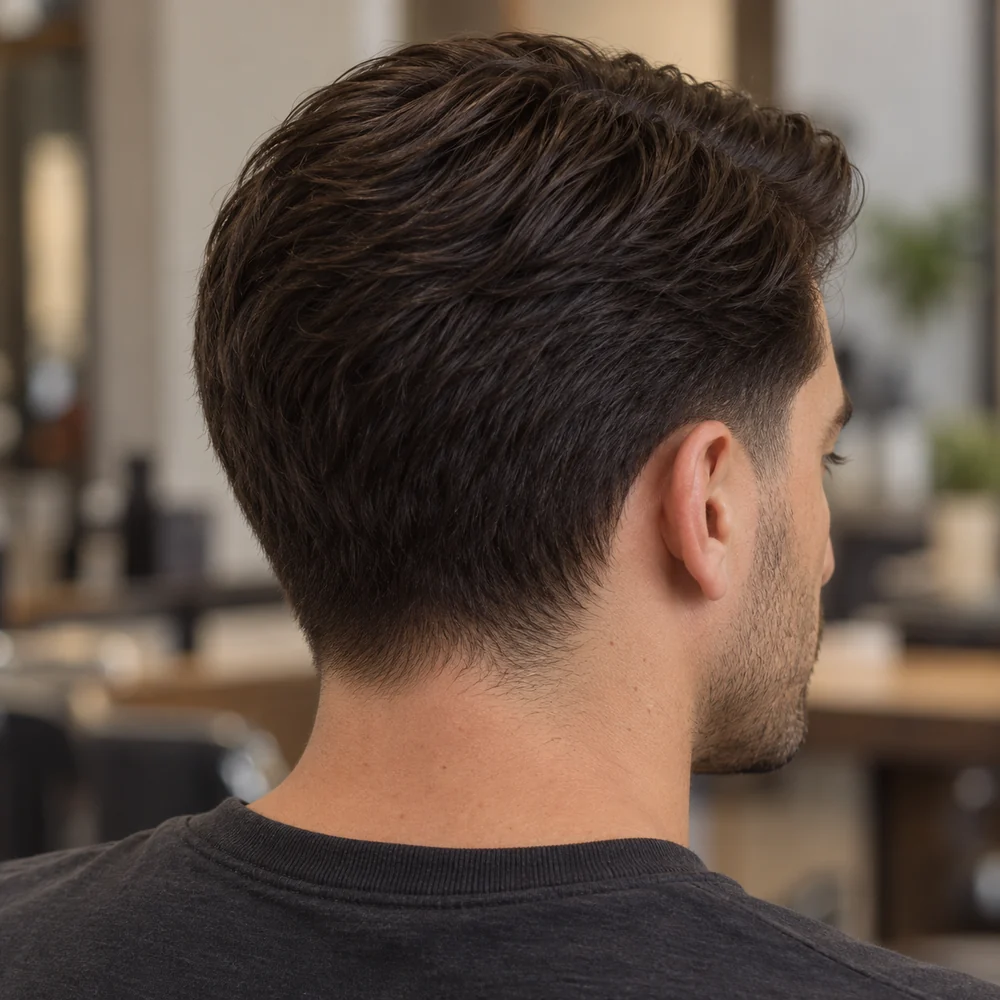
The angle shows the combed direction through the crown and the weight retained above the nape.
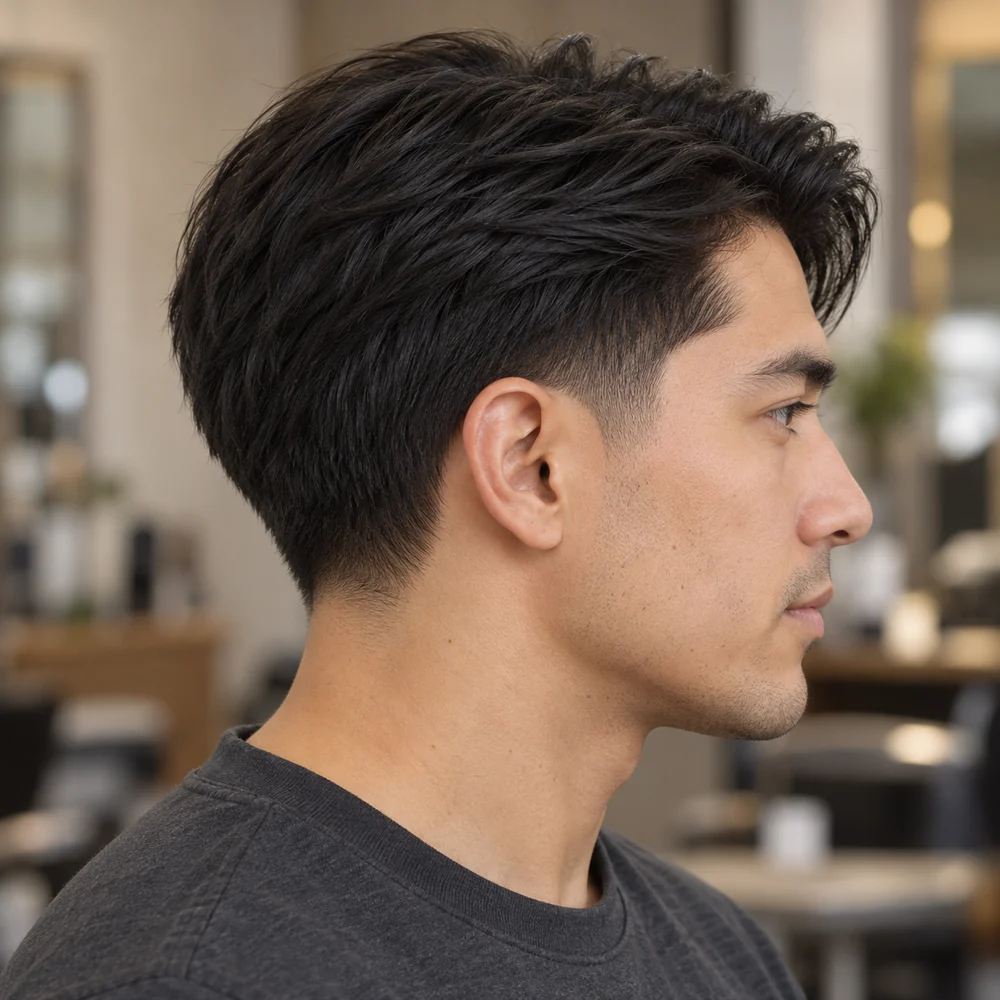
The softly swept top creates direction without a shaved part or a fully shortened side.
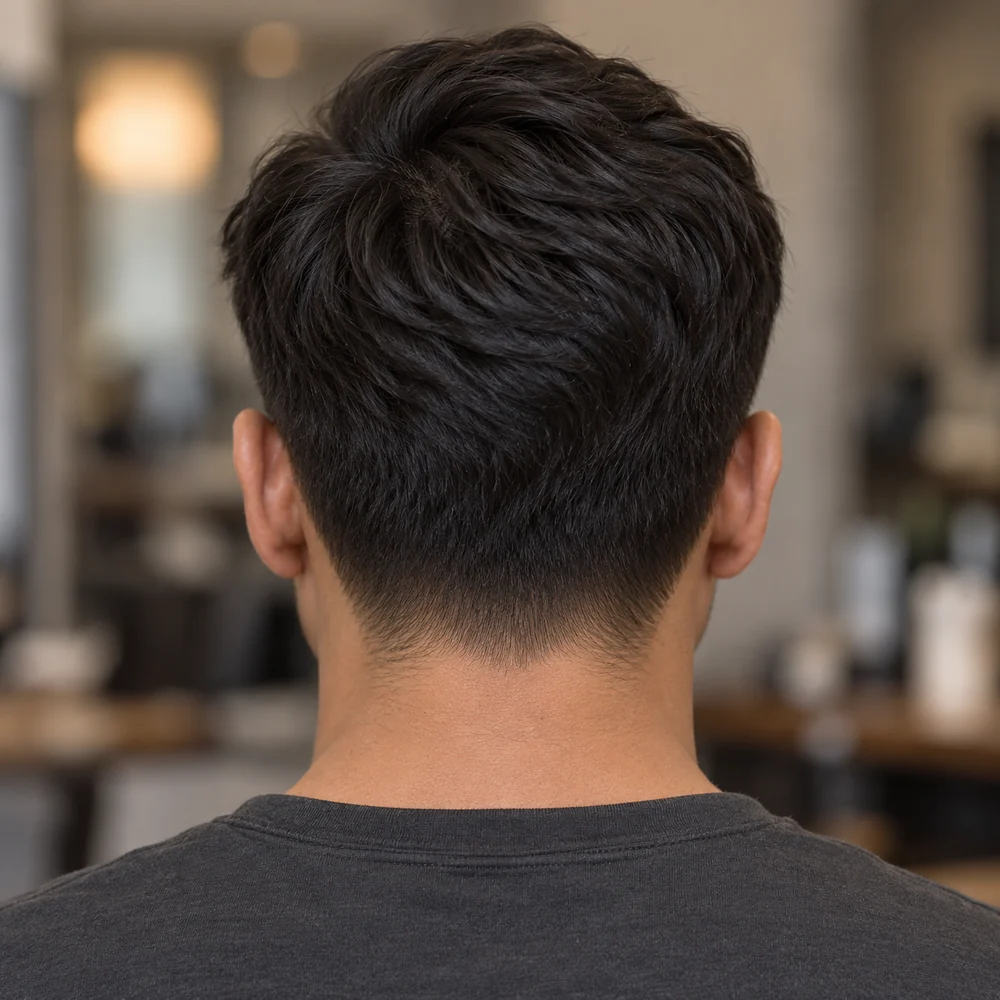
This rear reference shows crown direction and a gradual neckline connection.
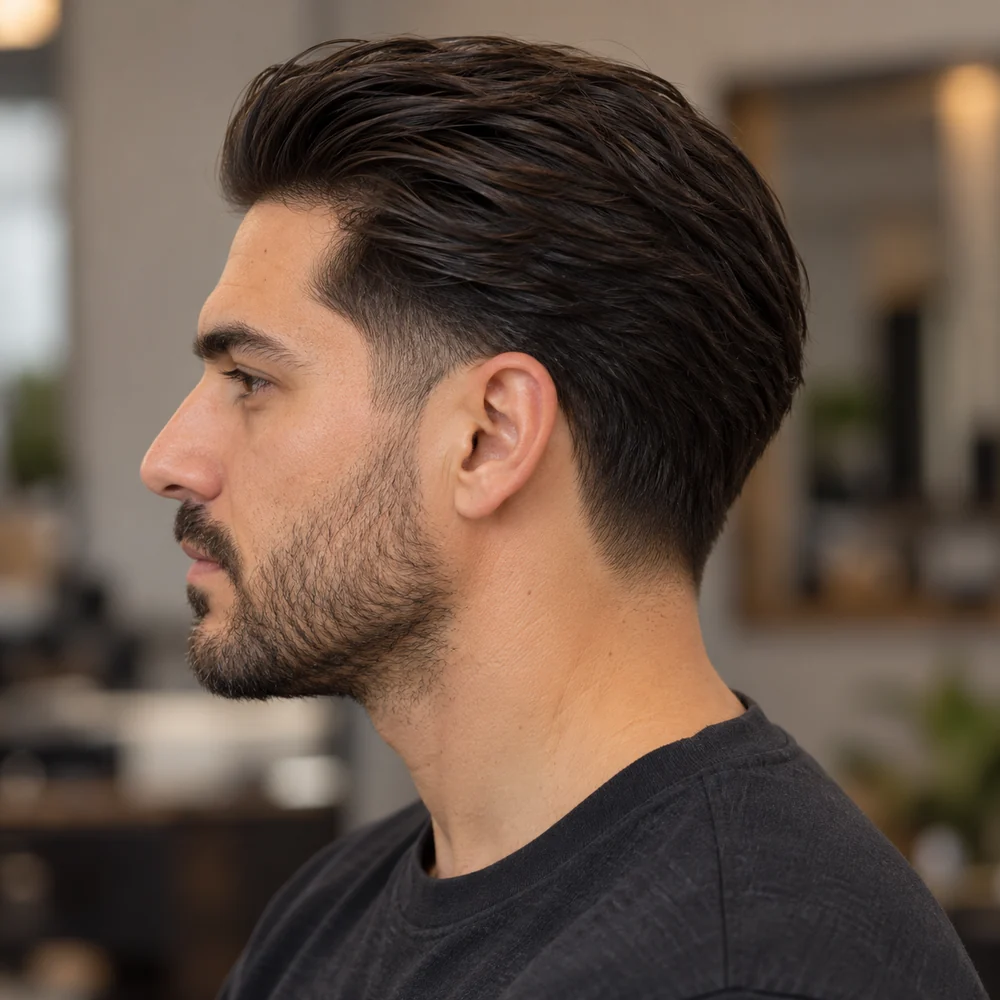
The front travels backward with moderate shine while the upper sides connect into the longer top.
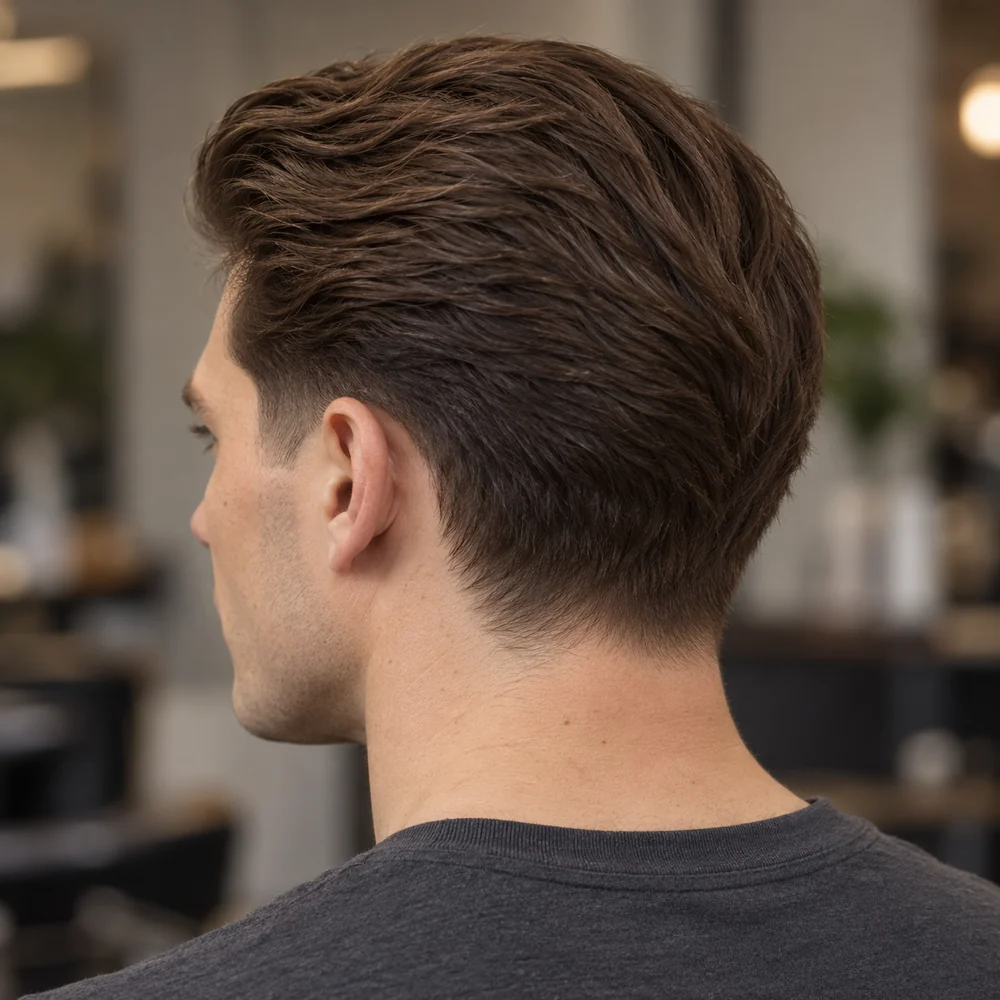
The swept-back direction continues through the crown into the retained back weight.
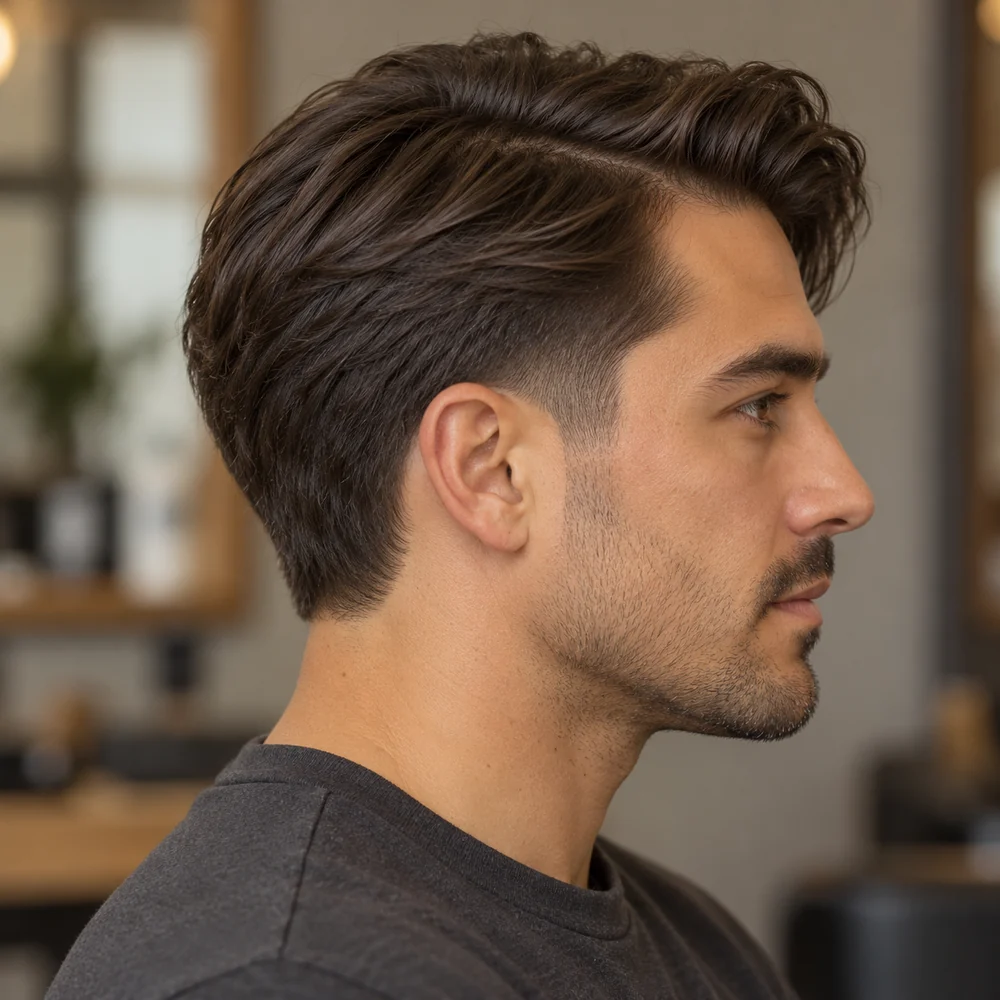
A softer finish gives separation and direction without the wet look of a highly polished style.
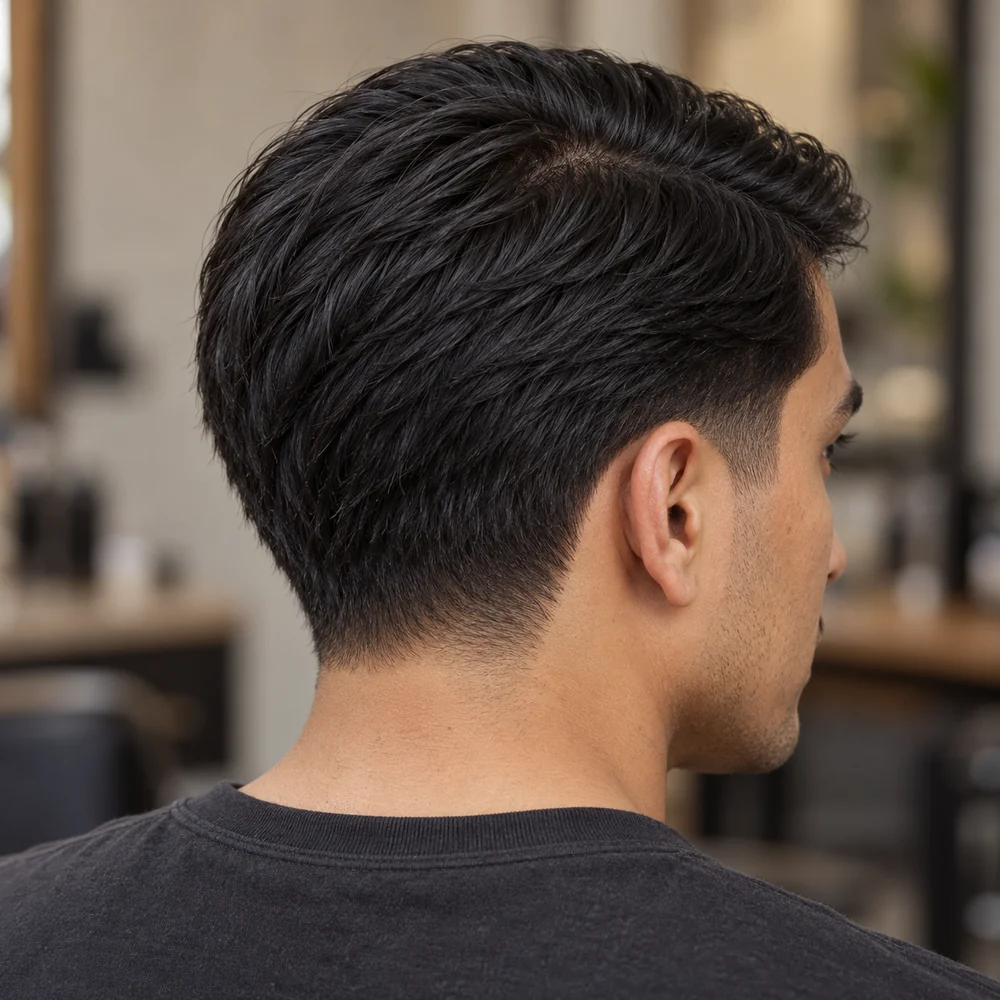
The close rear angle makes the neckline transition and fuller upper-back connection easier to compare.
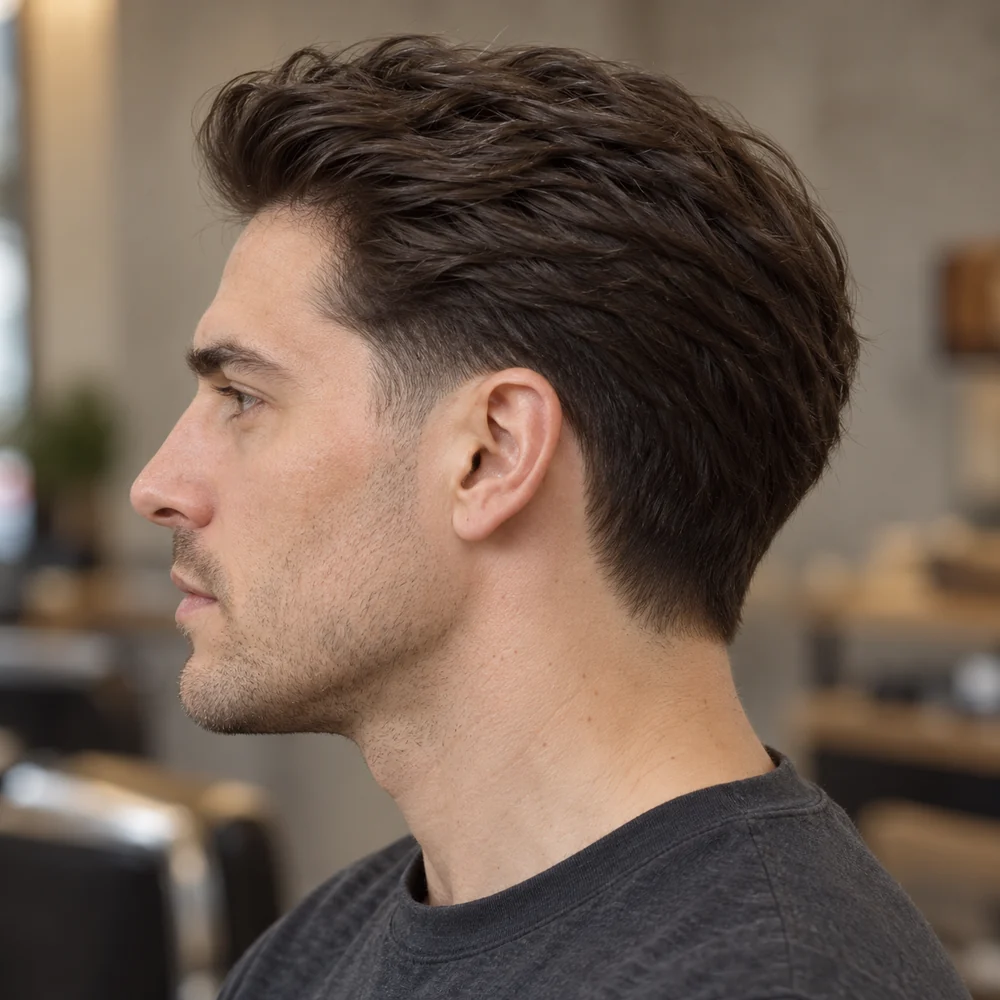
Gentle lift and a lower-shine finish keep the brushed-back direction soft rather than rigid.
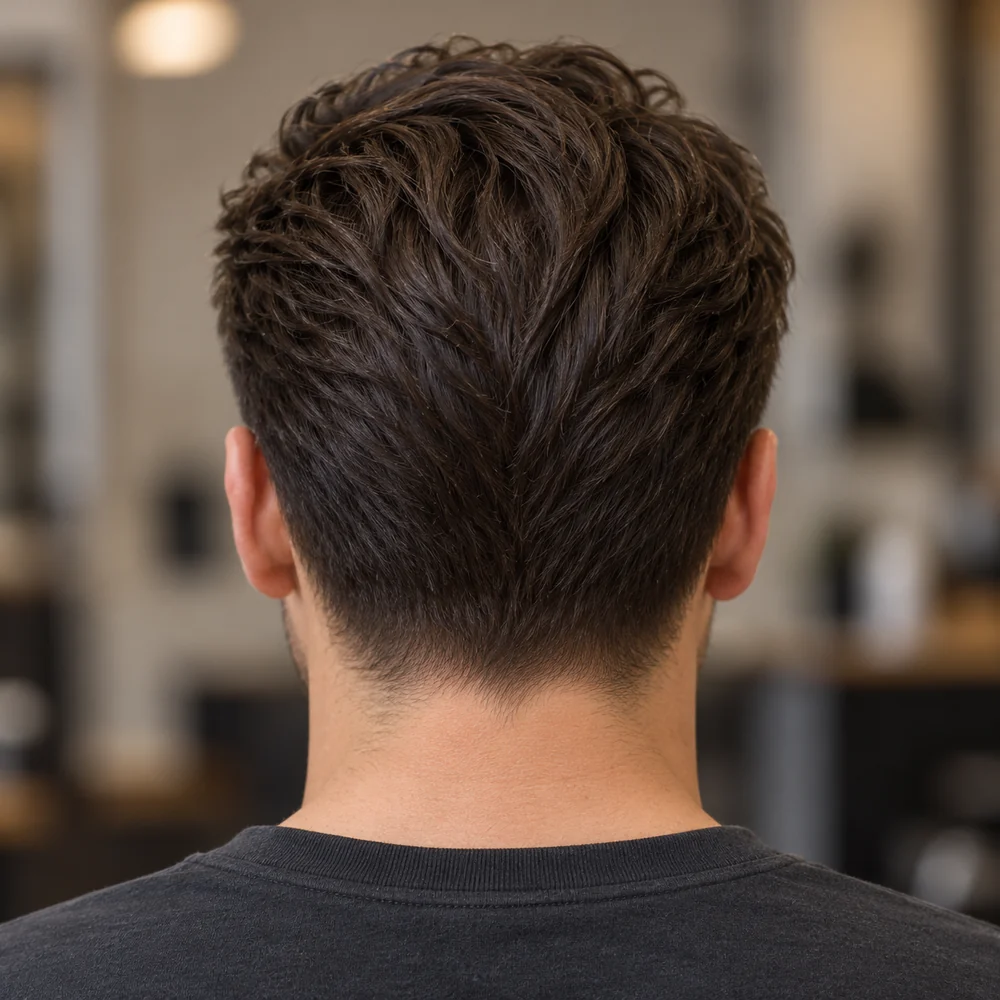
The centered rear reference shows the combed direction and the gradual transition at the nape.
Visual disclosure: These ten references are original AI-generated editorial illustrations of different fictional adults. They illustrate the haircut choices discussed in this article, not real clients, verified barber work, before-and-after results or guaranteed outcomes. The existing article text and featured image are retained.
Two reliable directions: choose a side part if you want a structured shape with visible direction, or a slicked-back top if you want the hair to travel away from the face with a smoother finish.
Why a Taper Works with Straight Hair
A localized taper cleans the temple/sideburn and nape without removing all the hair through the upper sides. That preserved weight helps straight hair connect into a side part, comb-over, swept back top or pompadour. If your barber takes the fade high, the top can look more disconnected—sometimes intentionally, sometimes not.
Option 1: Mid Taper with a Side Part
This version keeps a directional split in the top and usually benefits from enough length to comb across without strands sticking straight up. Ask the barber to preserve the weight around the parting side and avoid cutting the transition so short that the top hangs over a hollow-looking side.
How to style it
- Start with towel-dried hair.
- Set the part while the hair is still flexible.
- Blow-dry in the direction you want the hair to sit.
- Finish with cream, paste or pomade depending on how much shine you want.
Option 2: Mid Taper with a Slicked-Back Top
This requires enough front length to travel backward without springing forward again. Blow-drying first is useful because straight hair remembers root direction. For a polished finish, use a pomade or grooming cream; for a softer modern finish, use a lower-shine paste.
If you want more height than a simple slick back, the next step is a mid taper pompadour.
Option 3: Mid Taper with a Textured Fringe
This is the most searched version of a mid taper on straight hair. The top is cut with texture (point-cut ends) and pushed forward into a fringe that sits on the forehead, while the mid taper cleans up the temples and the nape. Straight hair shows a choppy, piecey fringe very clearly, which is why this combination looks so sharp in photos. It also softens a high forehead or a slightly receding front.
Leave about 2 to 3 inches through the top and 3 to 4 inches at the front so the fringe reaches the forehead. Fine straight hair can look thin when it is pushed forward, so ask for less thinning at the front and add a little sea-salt or texture spray before drying.
How to style a textured fringe on straight hair
- Towel-dry and mist in a little sea-salt spray.
- Blow-dry the top forward with your fingers, not a brush, so the pieces separate.
- Warm a pea-sized amount of matte clay or paste between your palms and pinch the ends into pieces.
“Mid taper at the temples and the nape, keep weight through the sides, and leave the top textured and long enough at the front for a fringe.”
See more front, side and back photos in the mid taper fade with textured fringe guide, or the softer low taper with textured fringe.
Best Top Styles for a Mid Taper on Straight Hair
| Top style | Top length | Product | Best for |
|---|---|---|---|
| Textured fringe | 2–3 in, 3–4 in at the front | Matte clay or paste | Casual, modern look; high foreheads |
| Side part | 3–4 in | Cream or light pomade | Office and formal |
| Slicked back | 4–5 in | Water-based pomade | Polished, smooth finish |
| Soft comb-over | 3–4 in | Cream | Low-effort daily styling |
| Short crop | 1–2 in | Matte paste | Minimal styling |
| Pompadour | 4–6 in | Pomade plus blow-dry | Height and volume |
Mid Taper vs Mid Fade on Straight Hair
Straight hair makes the difference easy to see. A mid taper only blends the sideburns and the nape, so the sides above the ears keep their length and lie flat against the head. A mid fade takes a band around the whole head at mid height, so more scalp shows on the sides and back and an uneven blend shows quickly. Choose the taper for a softer, office-friendly look and more time between cuts; choose the fade for stronger contrast. For the full fade, see the mid fade haircut guide.
Which Clipper Numbers Are Used?
There is no fixed recipe, but a common mid taper on straight hair starts with a #0 or #0.5 at the bottom of the sideburn and nape and blends up through a #1 and #2 to the length left on the sides. The top is usually cut with scissors so it can be textured or parted. Because straight hair shows lines, ask for the blend to be finished with clipper-over-comb rather than guards alone. See the haircut numbers guide for what each guard leaves.
What to Ask Your Barber
“I want a mid taper at the temple/sideburn and nape, but keep enough weight through the upper sides to connect to my straight top. I wear it [side parted / slicked back], so leave the front and parting area long enough for that direction.”
Then specify whether you want the bottom shadowed, zero, or skin. If you want a clipper-zero perimeter without bare skin, our zero mid taper guide explains the terminology.
Common Straight-Hair Problems
Visible guard lines
Straight hair can expose dark bands or abrupt transitions. A careful blend matters more than chasing the shortest possible finish.
Flat top
If your hair lies close to the scalp, create direction and root lift with the blow dryer before adding hold.
Sides that stick out
Some straight hair grows outward. That may require better weight control above the taper, not necessarily a higher fade.
Product Choice by Finish
- Natural / low shine: styling cream or light paste.
- Matte and textured: clay or matte paste.
- Classic and polished: water-based pomade.
American Crew’s product guidance separates these categories mainly by hold and shine, which is a better way to choose than assuming one product is “best” for every straight-hair style.
When Is It Time for a Trim?
Watch the shape rather than the calendar. The taper may feel untidy when the sideburn and neckline lose definition, while the top may need attention when it stops holding its direction, becomes heavy over the sides, or no longer connects cleanly into the blend. You can refresh the perimeter without automatically shortening the top every visit.
For more options by fade height and shape, see fade haircuts for men.
Styling Reference
See American Crew’s grooming tips for examples of how pomade, cream, clay and matte products differ in hold, shine and application.
Is a mid taper good for straight hair?
Yes. It keeps the perimeter clean while leaving enough side weight to connect naturally into side parts, slick backs, crops and pompadours.
Should straight hair use a taper or a full fade?
Choose a taper when you want a localized cleanup and more weight through the sides. Choose a full fade when you want more of the side and back taken short.
What product should I use for straight hair?
Use the finish as your guide: cream for softer control, matte paste/clay for texture, and pomade for smoother shine. Start with a small amount.
 Low Taper Fade for Black Men: Styles, Line-Ups and What to Ask For
 Low Taper Fade with Textured Fringe: Styles, Barber Script and Styling
 Taper Fade for Curly Hair: Low, Mid and Blowout Tapers by Curl Type